
Beats and Rhythms: Creating Your Tin Can Drum
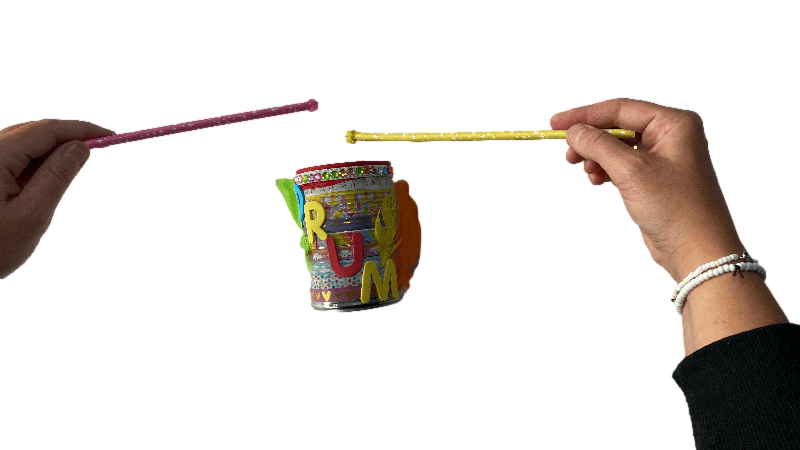
Materials List
- Balloon
- Ring Pull Tin Can or Empty Gravy Container
- PVA Glue
- Ribbons/Washi Tape/Decorations of Choice
- 2 Straws
- 2 Small Pom Poms
- Elastic Band
Equipment List
Step 1
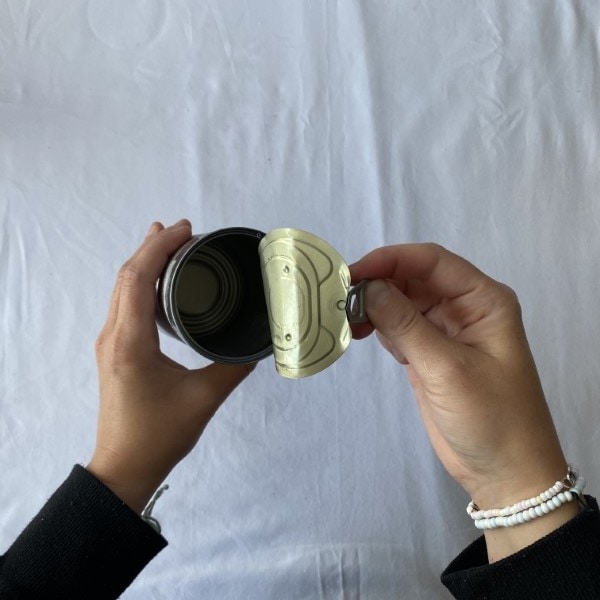
Prepare the Can: Remove the ring pull lid from the tin can. Ensure the can is clean and has no sharp edges. If using a different container, remove the lid.
Step 2
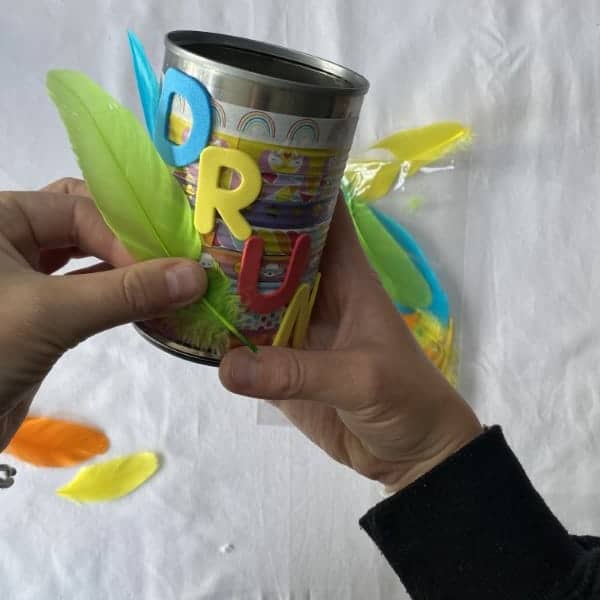
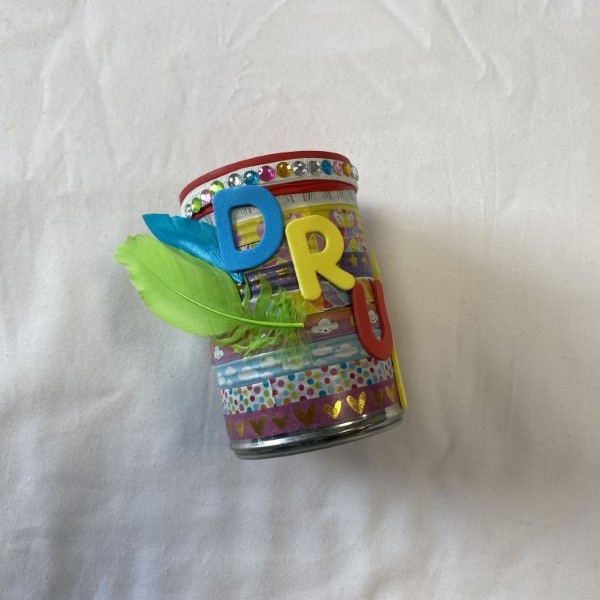
Decorate the Can: Wrap ribbons, tape, or your chosen decorations around the can. Secure them with PVA glue.
Step 3
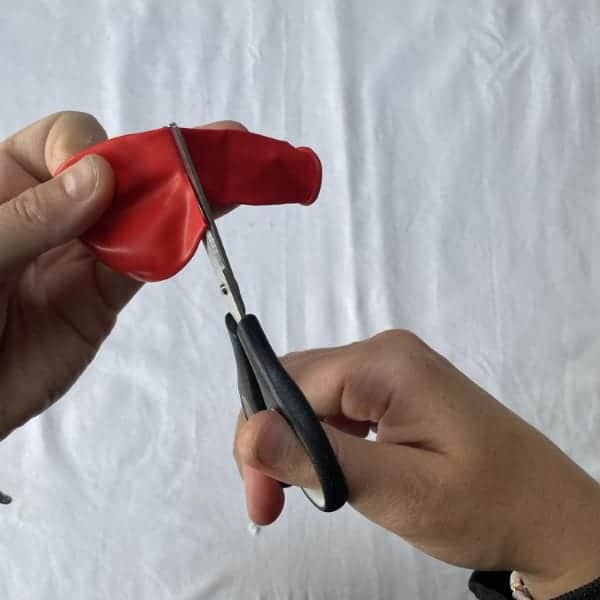
Prep the Balloon: Cut the neck off the balloon.
Step 4
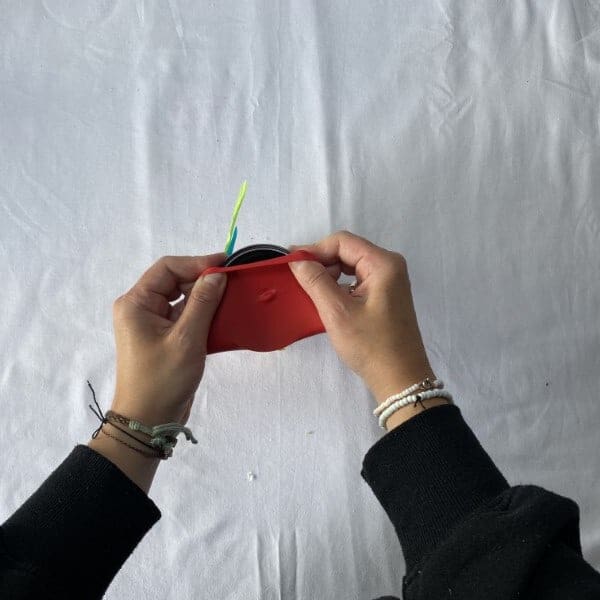
Add the Drum Top: Stretch the balloon over the tin’s top. Avoid overstretching the balloon. Use an elastic band to hold it in place.
Step 5
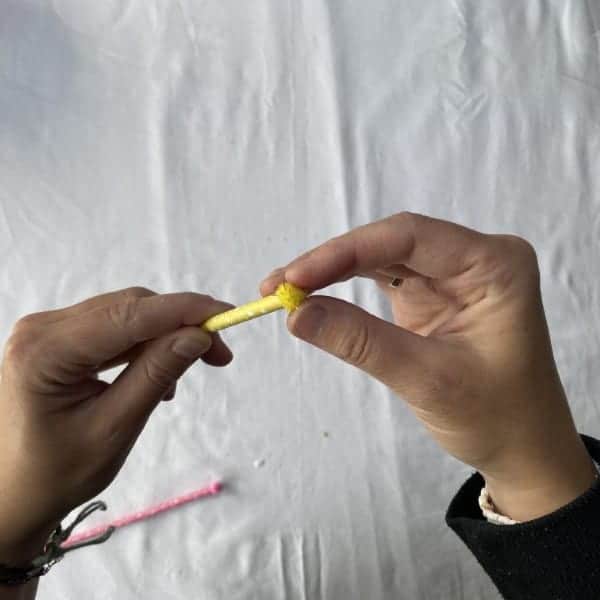
Create Drumsticks: Glue a pom pom to the end of each straw.
Step 6
Patience, Please: Let the glue dry completely. It might take a couple of hours.
Step 7
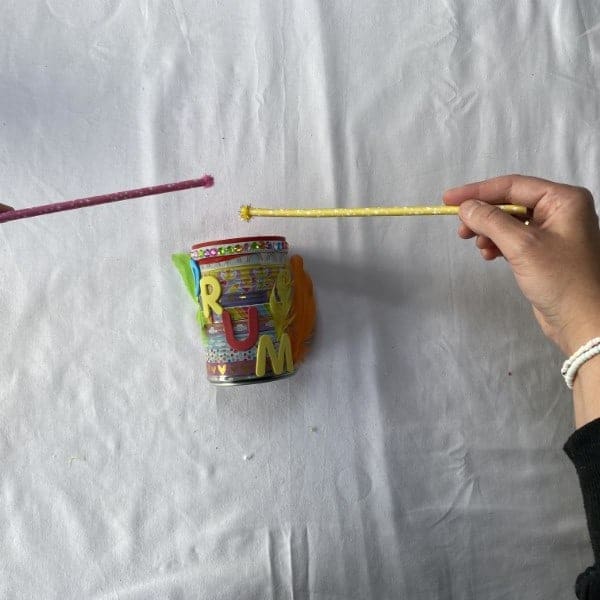
Drumroll, Please: Your DIY tin drum is ready! Tap the drum with your straw drumsticks and enjoy your beats!
Step 8
Step 9
Step 10
Step 11
Step 12
Step 13
Step 14
Step 15
Step 16
Step 17
Step 18
Step 19
Step 20
Step 21
Step 22
Step 23
Step 24
What part of the balloon do you need to cut off?
What part of the balloon do you need to cut off?
What part of the balloon do you need to cut off?
What part of the balloon do you need to cut off?
How do you secure the balloon over the tin’s top?
With an elastic band.
What do you use to make the drumsticks for your drum?
Straws and small pom poms.