
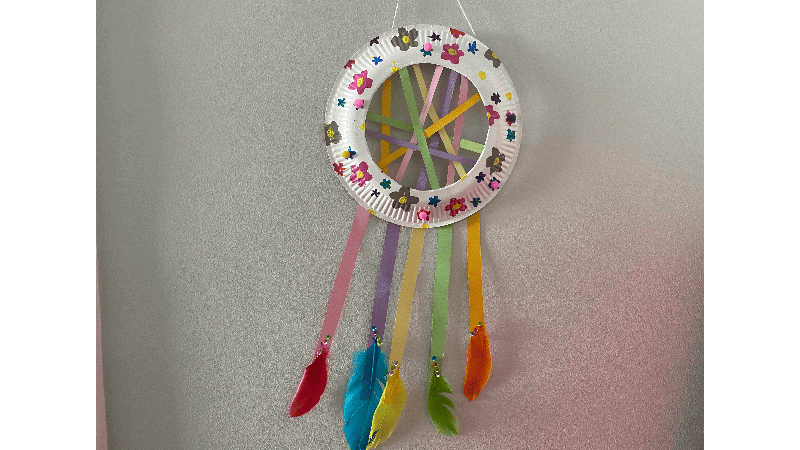
Paper Dreams: Crafting Your Own Dream Catcher!
Materials List
- Paints or Sharpie Pens
- Coloured Craft Paper
- Paper Plates
- Crepe Paper
- Feathers
- Glue
- String
- Decorative craft items/stickers/beads/sequins
Equipment List
Step 1
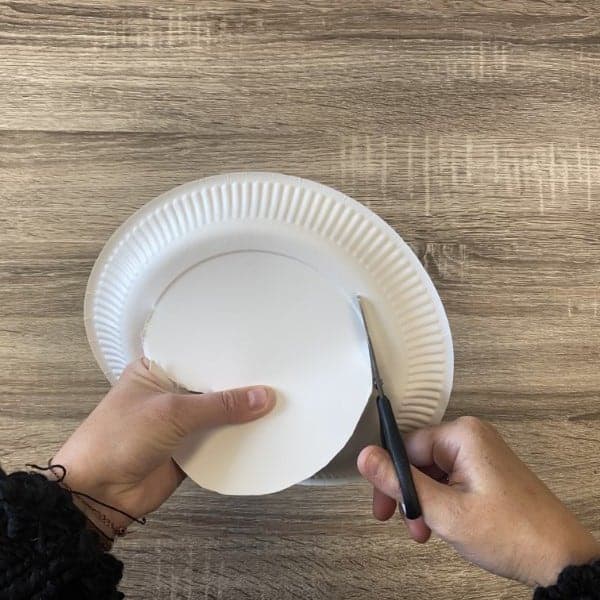
Prepare the Base: Take a paper plate and flip it over so that the backside is facing you. With your scissors, cut the centre of the plate out. This will be the base of your dream catcher.
Step 2
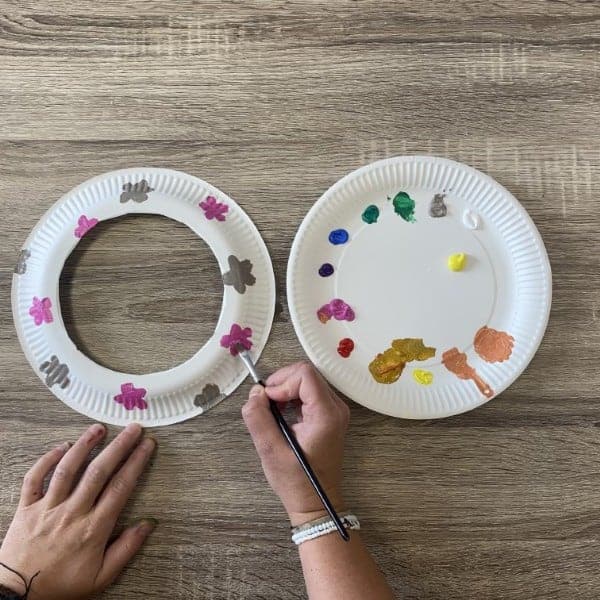
Paint the Plate: Use paints and a paintbrush to decorate the paper plate with colourful patterns and designs. Make it as vibrant as you like.
Step 3
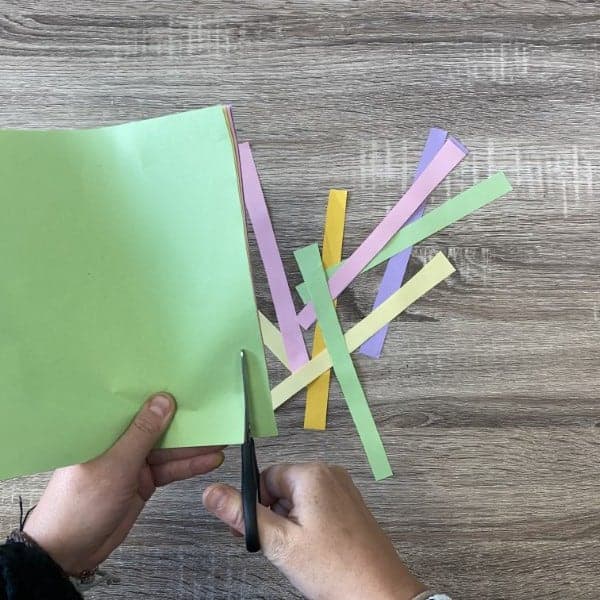
Prepare Crepe Strips: Cut your crepe paper into strips using scissors. Use different colours to make your web colourful.
Step 4
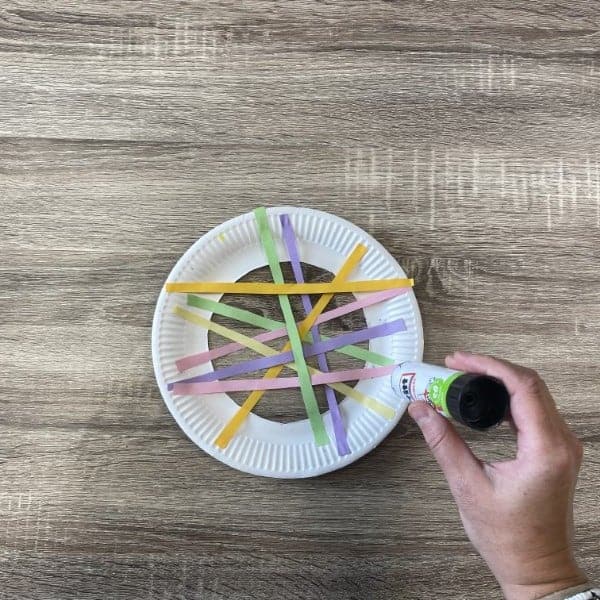
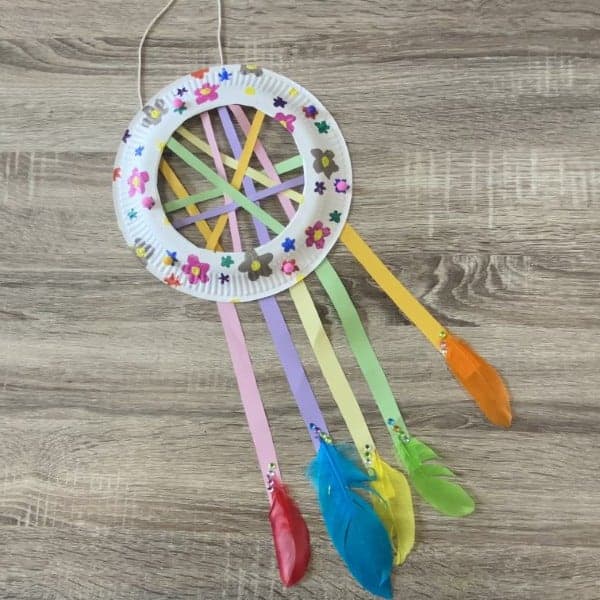
Create the Web: Starting from one edge of the paper plate, glue one end of a strip and stretch the paper to the opposite edge of the plate and attach the other end with glue. Repeat this process, crisscrossing the strips to create a web-like pattern.
Step 5
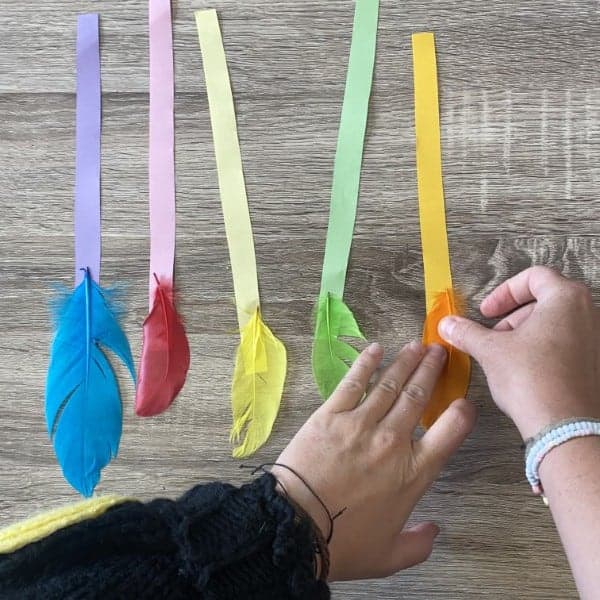
Prepare Hanging Elements: Cut more strips of crepe paper and glue feathers to the bottom. You can also add small crafts at the end of these strips for added flair.
Step 6
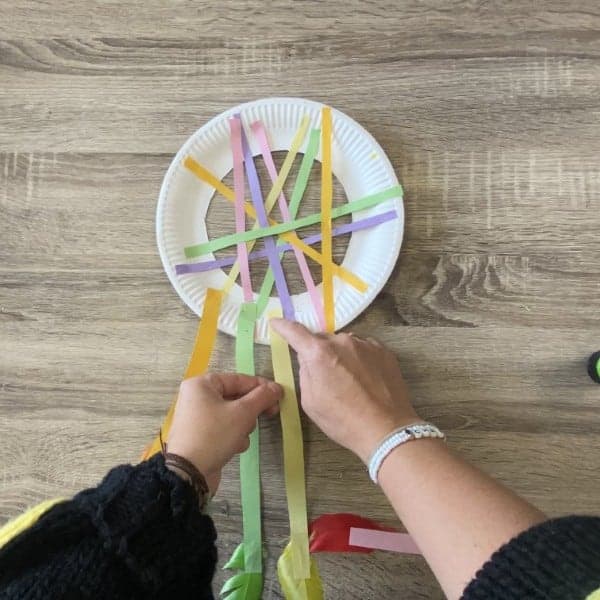
Attach Hanging Elements: Glue your strips with feathers to the bottom of the plate.
Step 7
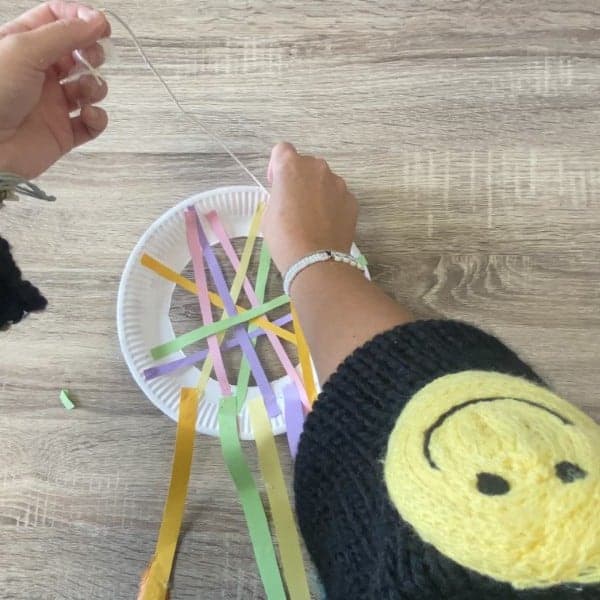
Attach String: Cut a piece of string, approximately 10 inches long. Then with your cellotape, stick the string onto the top of the back of your dream catcher.
Step 8
Dry the Dream Catcher: Allow your paper dream catcher to dry completely before hanging it up or displaying it in your room.
Step 9
Hang and Enjoy: Hang your beautiful paper dream catcher in your room or give it as a lovely handmade gift to someone special. Let it catch your dreams and bring a touch of magic to your space!
Step 10
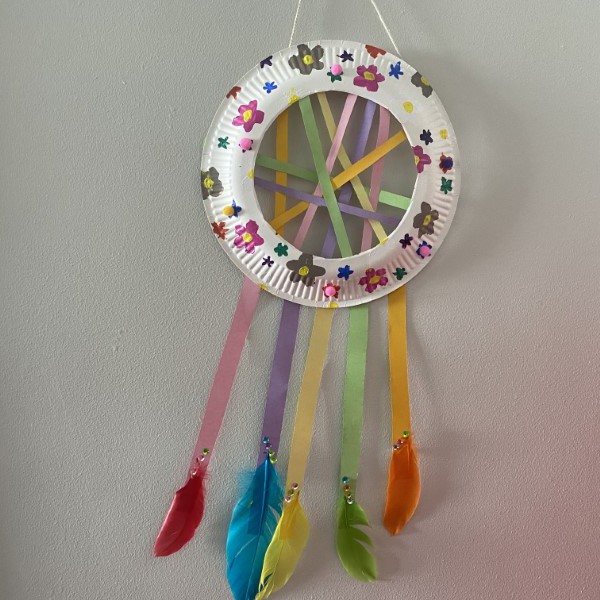
Hang and Enjoy: Hang your beautiful paper dream catcher in your room or give it as a lovely handmade gift to someone special. Let it catch your dreams and bring a touch of magic to your space!