
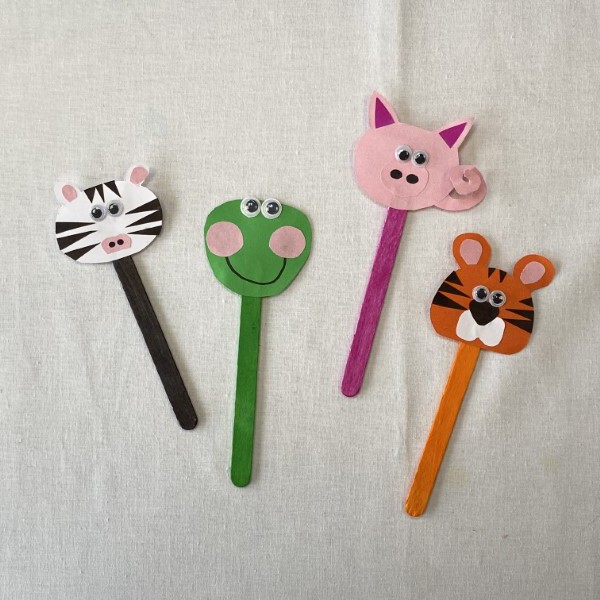
Paws and Pages: Create Your Own Animal Bookmarks!
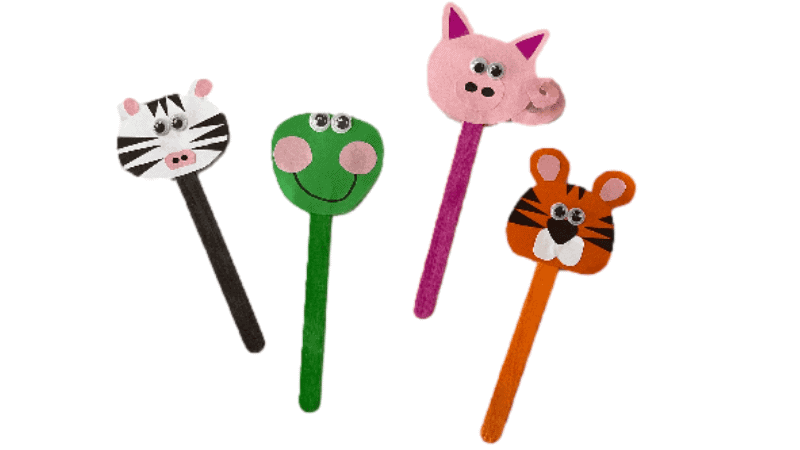
Materials List
Equipment List
Step 1
Choose an Animal: Pick your favourite animal and draw its simple outline on coloured card with a pencil.
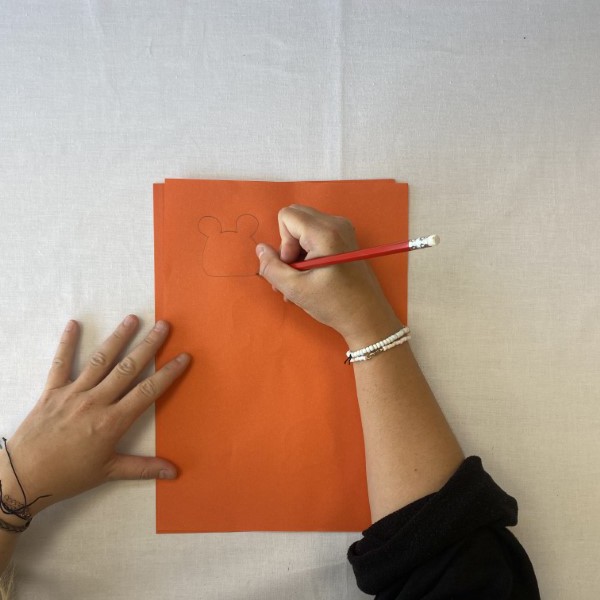
Step 2
Cut the Shape: Use the scissors to carefully cut along the lines of your animal shape.
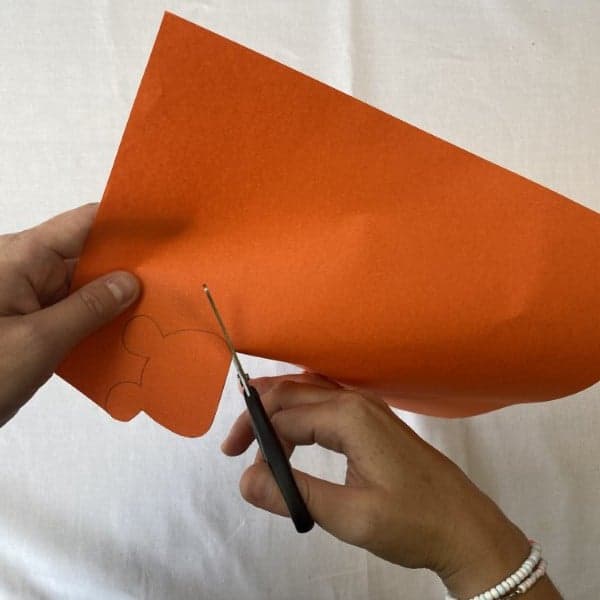
Step 3
Create Details: Cut small shapes from other coloured card to add details, like eyes and ears, to your animal.
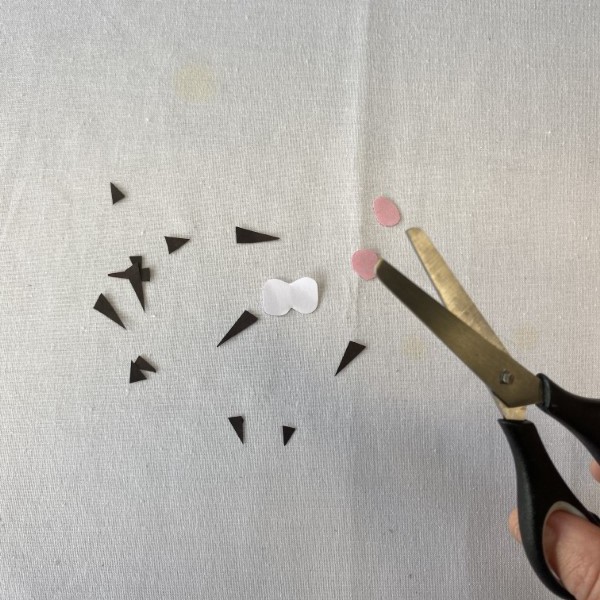
Step 4
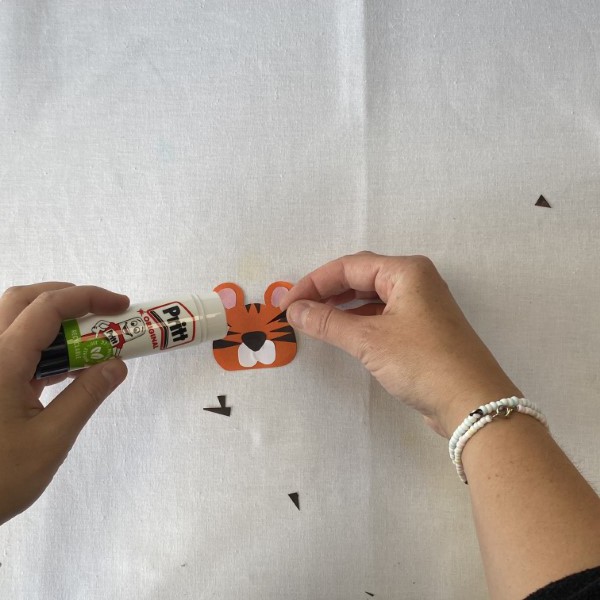
Add Features: Glue the small shapes onto the main animal shape to give it character.
Step 5
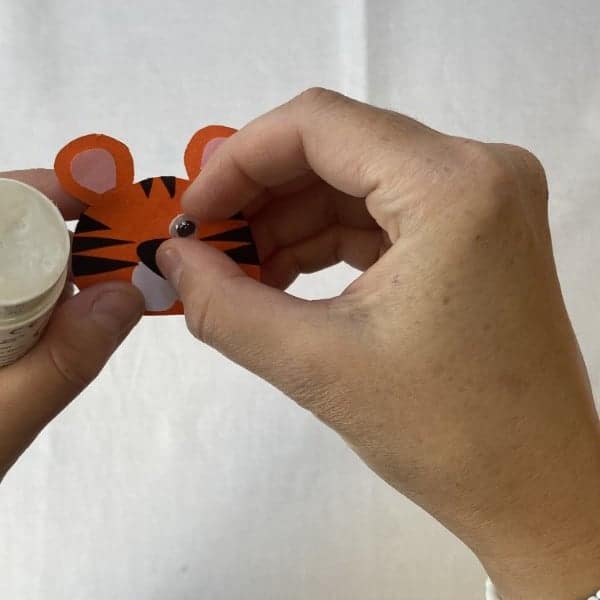
Eye Placement: Glue the googly eyes onto your animal’s head.
Step 6
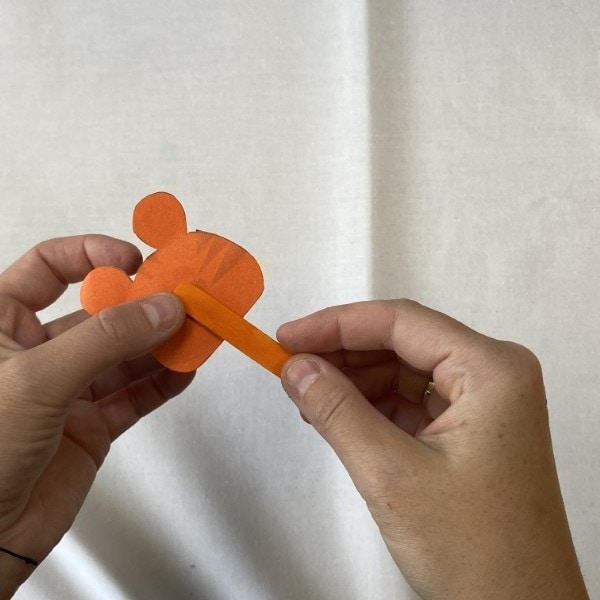
Attach the Stick: Flip your animal shape, apply glue on one side, and press the lollipop stick onto the glued side.
Step 7
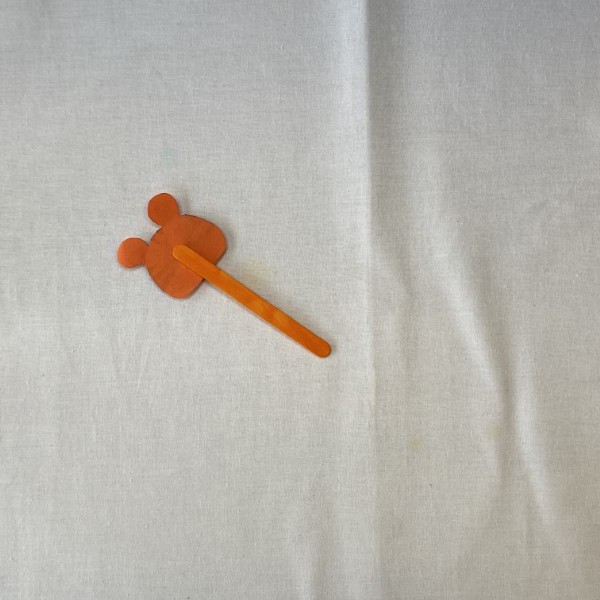
Let it Dry: Allow your animal bookmark to dry completely.
Step 8
Make More Animals: Repeat the steps to create more animal bookmarks to use or share with friends.
Step 9
Step 10
Step 11
Step 12
Step 13
Step 14
Step 15
Step 16
Step 17
Step 18
Step 19
Step 20
Step 21
Step 22
Step 23
Step 24
Can I add other decorations to my animal bookmarks?
Absolutely! Feel free to add ribbons, stickers, or any other decorations you like to make your bookmarks even more special.
My animal bookmark is not sticking to the lollipop stick well. What should I do?
Make sure to apply a sufficient amount of glue and press the stick firmly onto the animal shape. Give it enough time to dry completely before using it as a bookmark.
Can I use materials other than coloured cardboard?
Yes, you can use construction paper, foam sheets, or felt. Just ensure the material is sturdy enough to hold its shape as a bookmark.
Can I make bookmarks in shapes other than animals?
Definitely! You can create bookmarks in the shape of flowers, stars, vehicles, or anything else you like. Just follow the same steps and let your imagination run wild.