
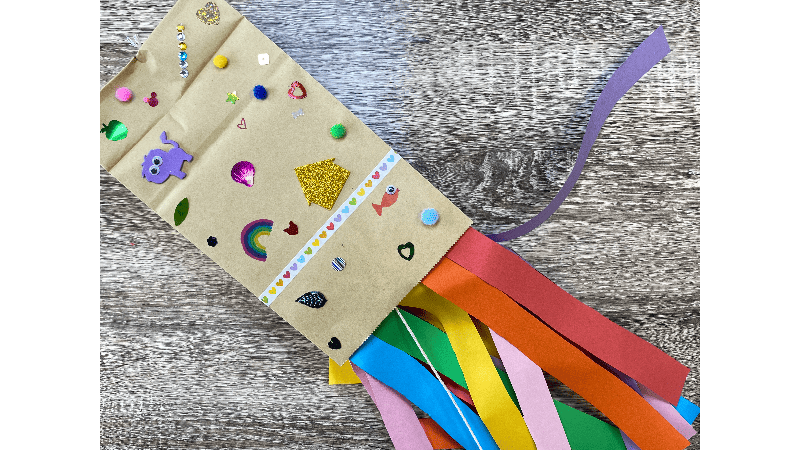
Soaring Skies: Craft Your Simple Indoor Paper Bag Kite!
Materials List
(Click To Buy On Amazon)
- Crepe Paper
- String
- Paper Lunch Bags
- Lollipop Stick
- Tape
- Crafting Decorates (Pens/Paints/Washi Tape/Stickers)
Equipment List
Step 1
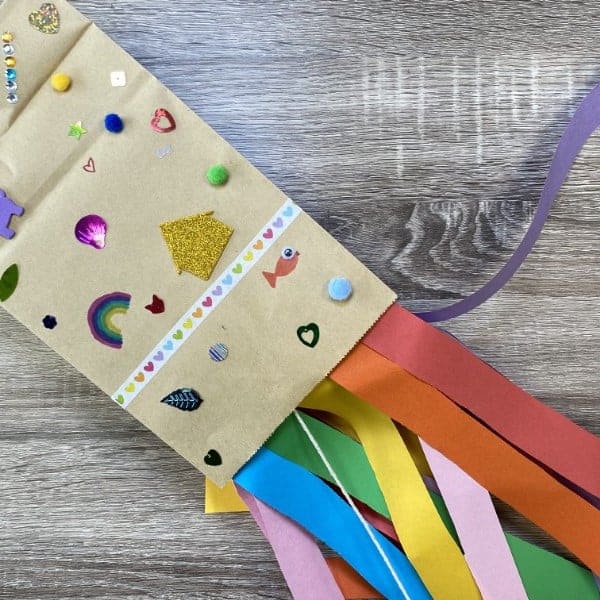
Decorate the Bag: Lay the paper lunch bag flat and decorate it with pens, paints, stickers, or any craft items you have. Make it colourful and unique!

Step 2
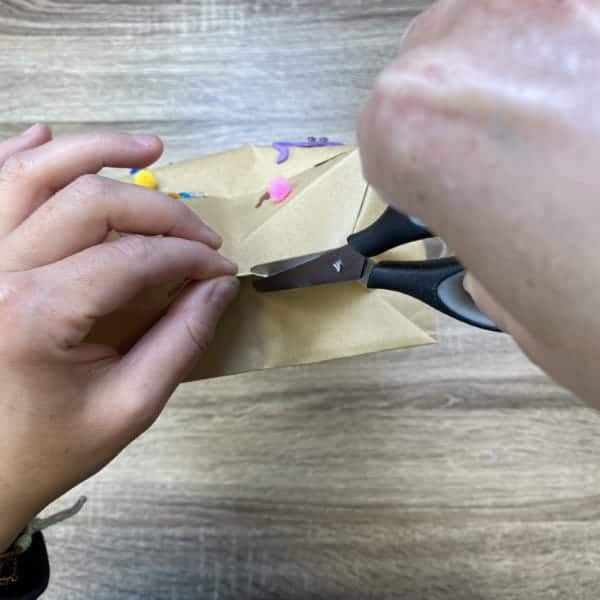
Prepare for String: Cut a small hole in the bottom of the paper bag.
Step 3
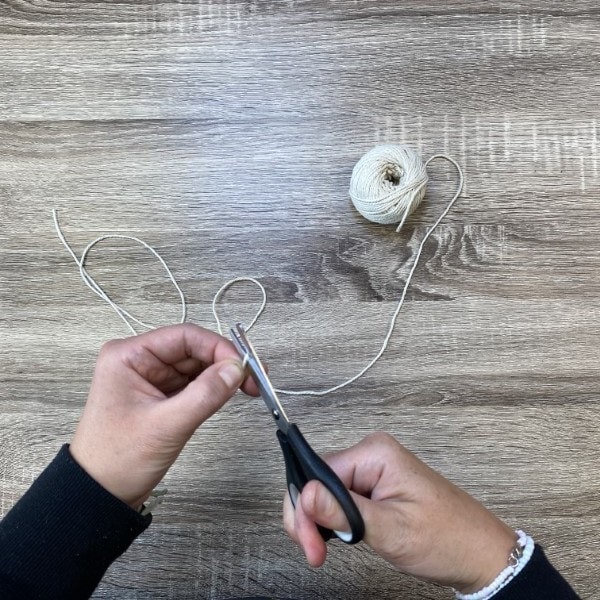
Cut the String: Cut a piece of string about 30 inches long.
Step 4
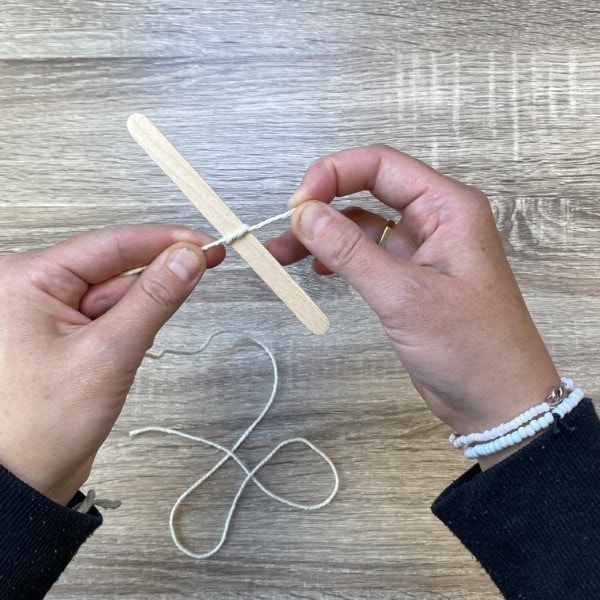
Attach the String: Tie the string to the middle of the lollipop stick. Feed the other end of the string through the hole in the paper bag. The lollipop stick will keep the string in place.
Step 5
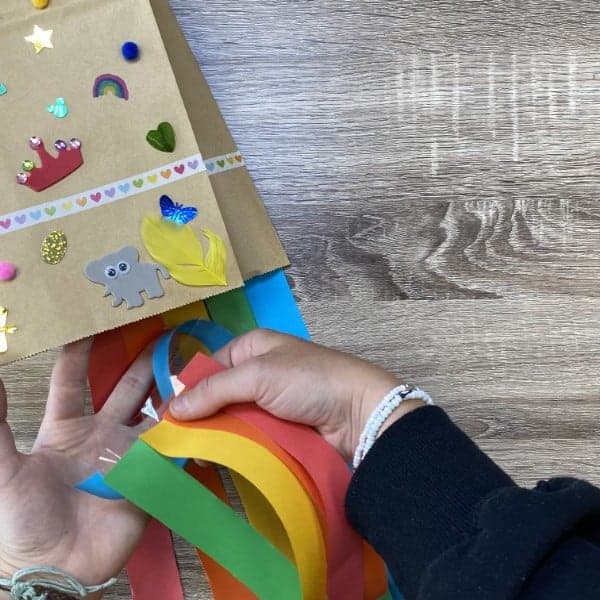
Add the Tail: Cut crepe paper into strips and stick them onto the open edge of the paper bag with tape.
Step 6
Ready for Flight: Your kite is now ready to fly. Take it outside and watch it soar!
Step 7
Step 8
Step 9
Step 10
Step 11
Step 12
Step 13
Step 14
Step 15
Step 16
Step 17
Step 18
Step 19
Step 20
Step 21
Step 22
Step 23
Step 24
What can I use to decorate my paper bag kite?
You can use pens, paints, stickers, washi tape, or any other craft items you have to make your kite colourful and unique!
Why do we need a lollipop stick for this kite?
The lollipop stick is used to secure the string in place and prevent it from falling out of the paper bag.
How long should the string for the kite be?
: The instructions suggest a length of 30 inches, but you can adjust it based on how high you want your kite to fly.
What is the purpose of the crepe paper strips?
The crepe paper strips act as the tail of your kite. They make your kite look beautiful as it flies and can help it fly more steadily.