Spud-tastic Art: DIY Potato Stamps for Kids!

Equipment List
(Click To Buy On Amazon)
- Paintbrush
- A sharp knife
- Kitchen roll/paper towels
- Plate or shallow container (for paint)
- Cookie cutters (optional for shapes)
Step 1
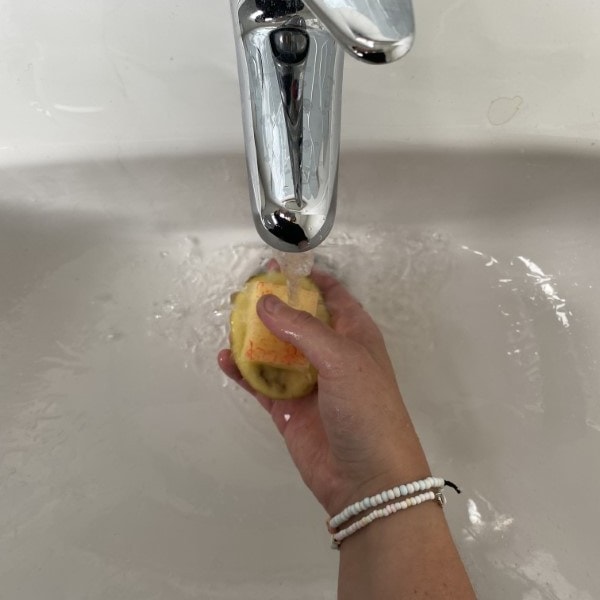
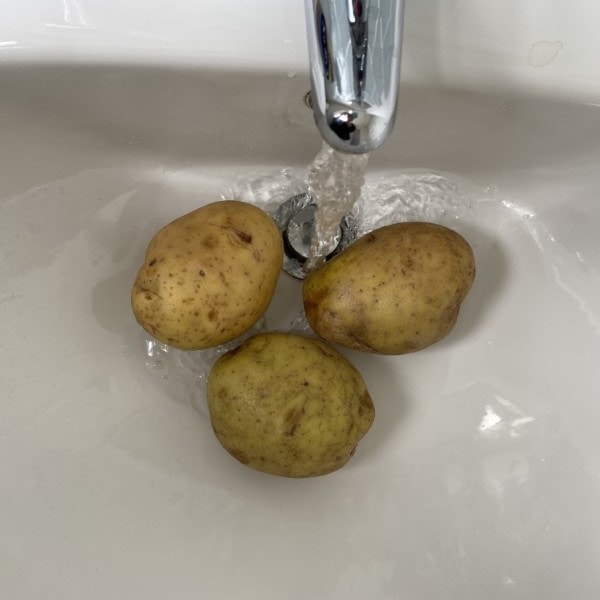
Prep the Potatoes: Wash and dry the large potatoes to remove dirt from the surface.
Step 2
Cut the Potatoes: Cut the potatoes in half or into thick slices to create flat surfaces for stamping.

Step 3
Shape Your Stamp: For detailed stamps, press a cookie cutter into the flat surface of the potato.

Step 4
Trim Excess Potato: Cut a line about 1cm from the edge of the potato, all the way around, and remove the excess potato.

Step 5
Remove Cookie Cutter: Take out the cookie cutter from the potato.

Step 6
Carve Your Design: If you want to make your own designs, use your knife for this. Carefully carve away the potato around the shape you’ve decided on. Leave about a quarter-inch of potato above the design to form the stamp.

Step 7
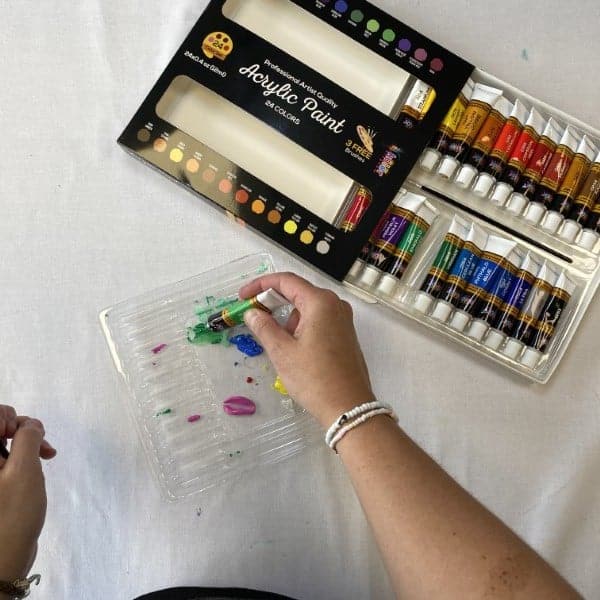
Prep Your Paint: Pour some paint into a shallow container or plate.
Step 8
Dry the Potato: Press the potato onto a kitchen roll to remove as much moisture as possible. You could even use a hairdryer.

Step 9
Apply the Paint: Use a paintbrush to apply paint to your potato shapes.

Step 10
Start Stamping: Press the painted potato firmly onto a sheet of paper. Hold it for a few seconds, then gently lift to reveal your artwork!

Step 11
Get Creative: Mix colours, create patterns, and encourage exploration of imagination.

Step 12
Clean Up: When finished, wash the potato stamps, cookie cutters, and hands thoroughly. Store the stamps for future use and admire the lovely artwork!