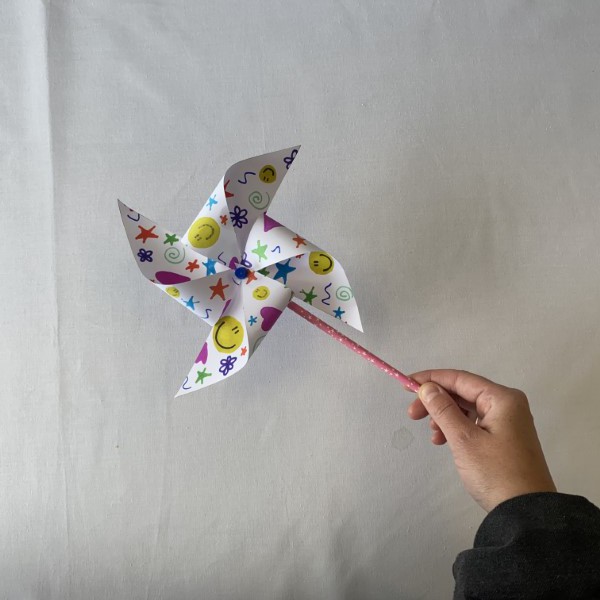
Whirling Wonders: DIY Simple Paper Windmill

Step 1
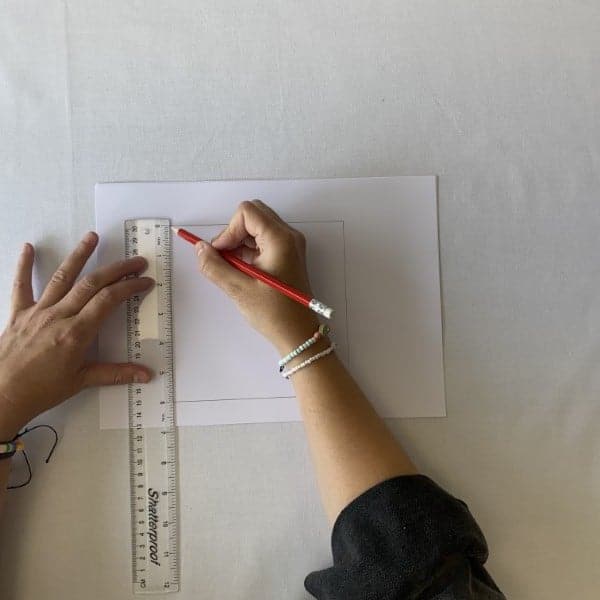
Draw a Square: Use your pencil and ruler to draw a square on your paper, ensuring it’s big enough for windmill blades.
Step 2
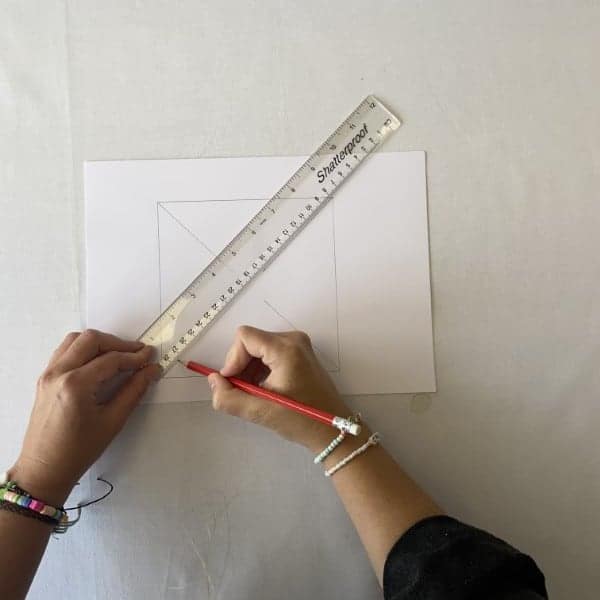
Make Diagonal Lines: Draw diagonal lines from each square corner, stopping them about two-thirds from the centre. This gives four lines meeting at the centre.
Step 3
Decorate Your Blades: Colour and design your windmill sections with crayons or pens. Let your imagination run wild!

Step 4
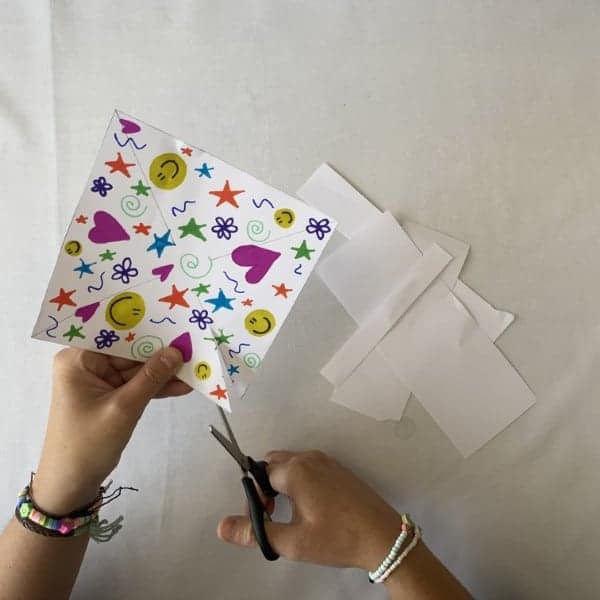
Shape Your Blades: Cut along the lines you drew from the corners but don’t reach the centre.
Step 5
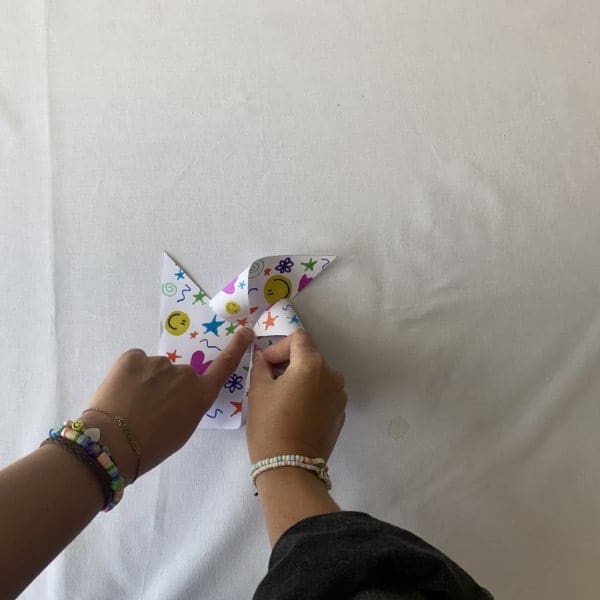
Fold the Blades: Gently fold each cut section towards the centre along the diagonal lines. Ensure they all fold the same way.
Step 6
Attach Blades Together: Push the push pin through the corners of the folded blades, ensuring they stay in place.

Step 7
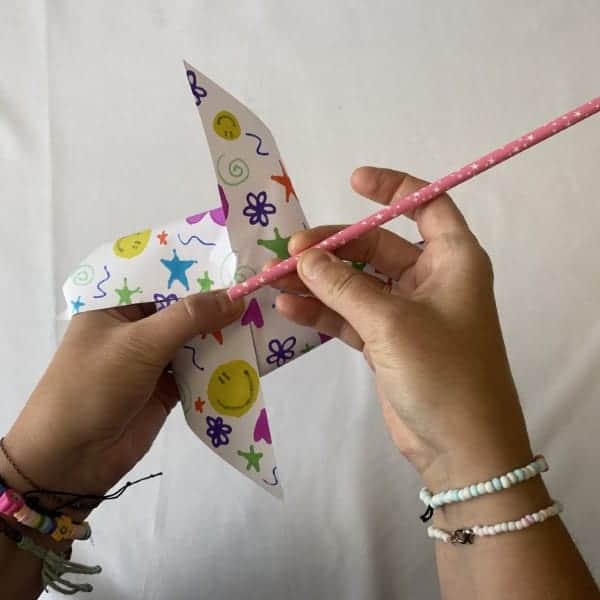
Add the Straw: Attach the other end of the push pin to a straw. This will be your windmill’s handle.
Step 8
Windmill Ready: Hold the straw and watch your windmill spin in the breeze!